Animating a sky in Nuke based on luminance
This is a little trick which I’ve been using for a few years. The aim is to quickly add a sense of depth and motion to a sky matte-painting or photograph. When I first developed this technique I was using 3d Studio Max and its volume select modifier, for this example I’ll be using geo displacement in Nuke.
This is an example using this technique with some extra lighting effects added
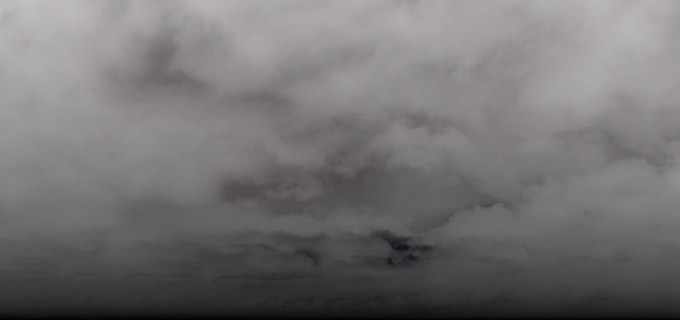
Step 1: Choose the sky plate. This technique works best on a cloudy sky where there’s a bit of contrast between the sky and clouds.

Next we need to animate the sky based on the inverted luminance values of the image.
Step 2: In Nuke import the sky image and connect it to a Card. Create a DisplaceGeo node and connect the card to it. We now need to connect an inverted version of the sky to the DisplaceGeo node using an Invert node. If you view your card now you should see some displacement with the darker areas being pulled out. You’ll need to subdivide your card quite a bit to pick up the cloud detail, in this example I set rows/columns to 64 and 112.

This Z displacement is a useful guide to check that we’re getting a nice even consistent separation, if not then we can always add a Grade node to get the desired result. In this example I’ve also set the scale to 1 on my DisplaceGeo node.

Step 3: We’re only interested in animating along the X axis (left to right) so we need to set weight Z to 0 and weight X to 1. We can now adjust the offset X value to animate the image based on its luminance, so the darker clouds will move more than the lighter sky. There is of course a point at which the geometry will start to overlap on itself, we just need to find the point at which this becomes noticeable and keep within those boundaries when animating. Connect the Card to a Scene, create and position your Camera and attach to a ScanlineRender node.

To slow the clouds in the distance simply add a ramp to the displacement image.
Displacement map
Summary:
There are obvious limitations to this technique but I’ve found it to be a great way to quickly add a bit more depth to skies, especially being able to do it all within Nuke.
You could also cut out the 3D aspect of this process and simply use an IDistort to to animate the image.