Image Example
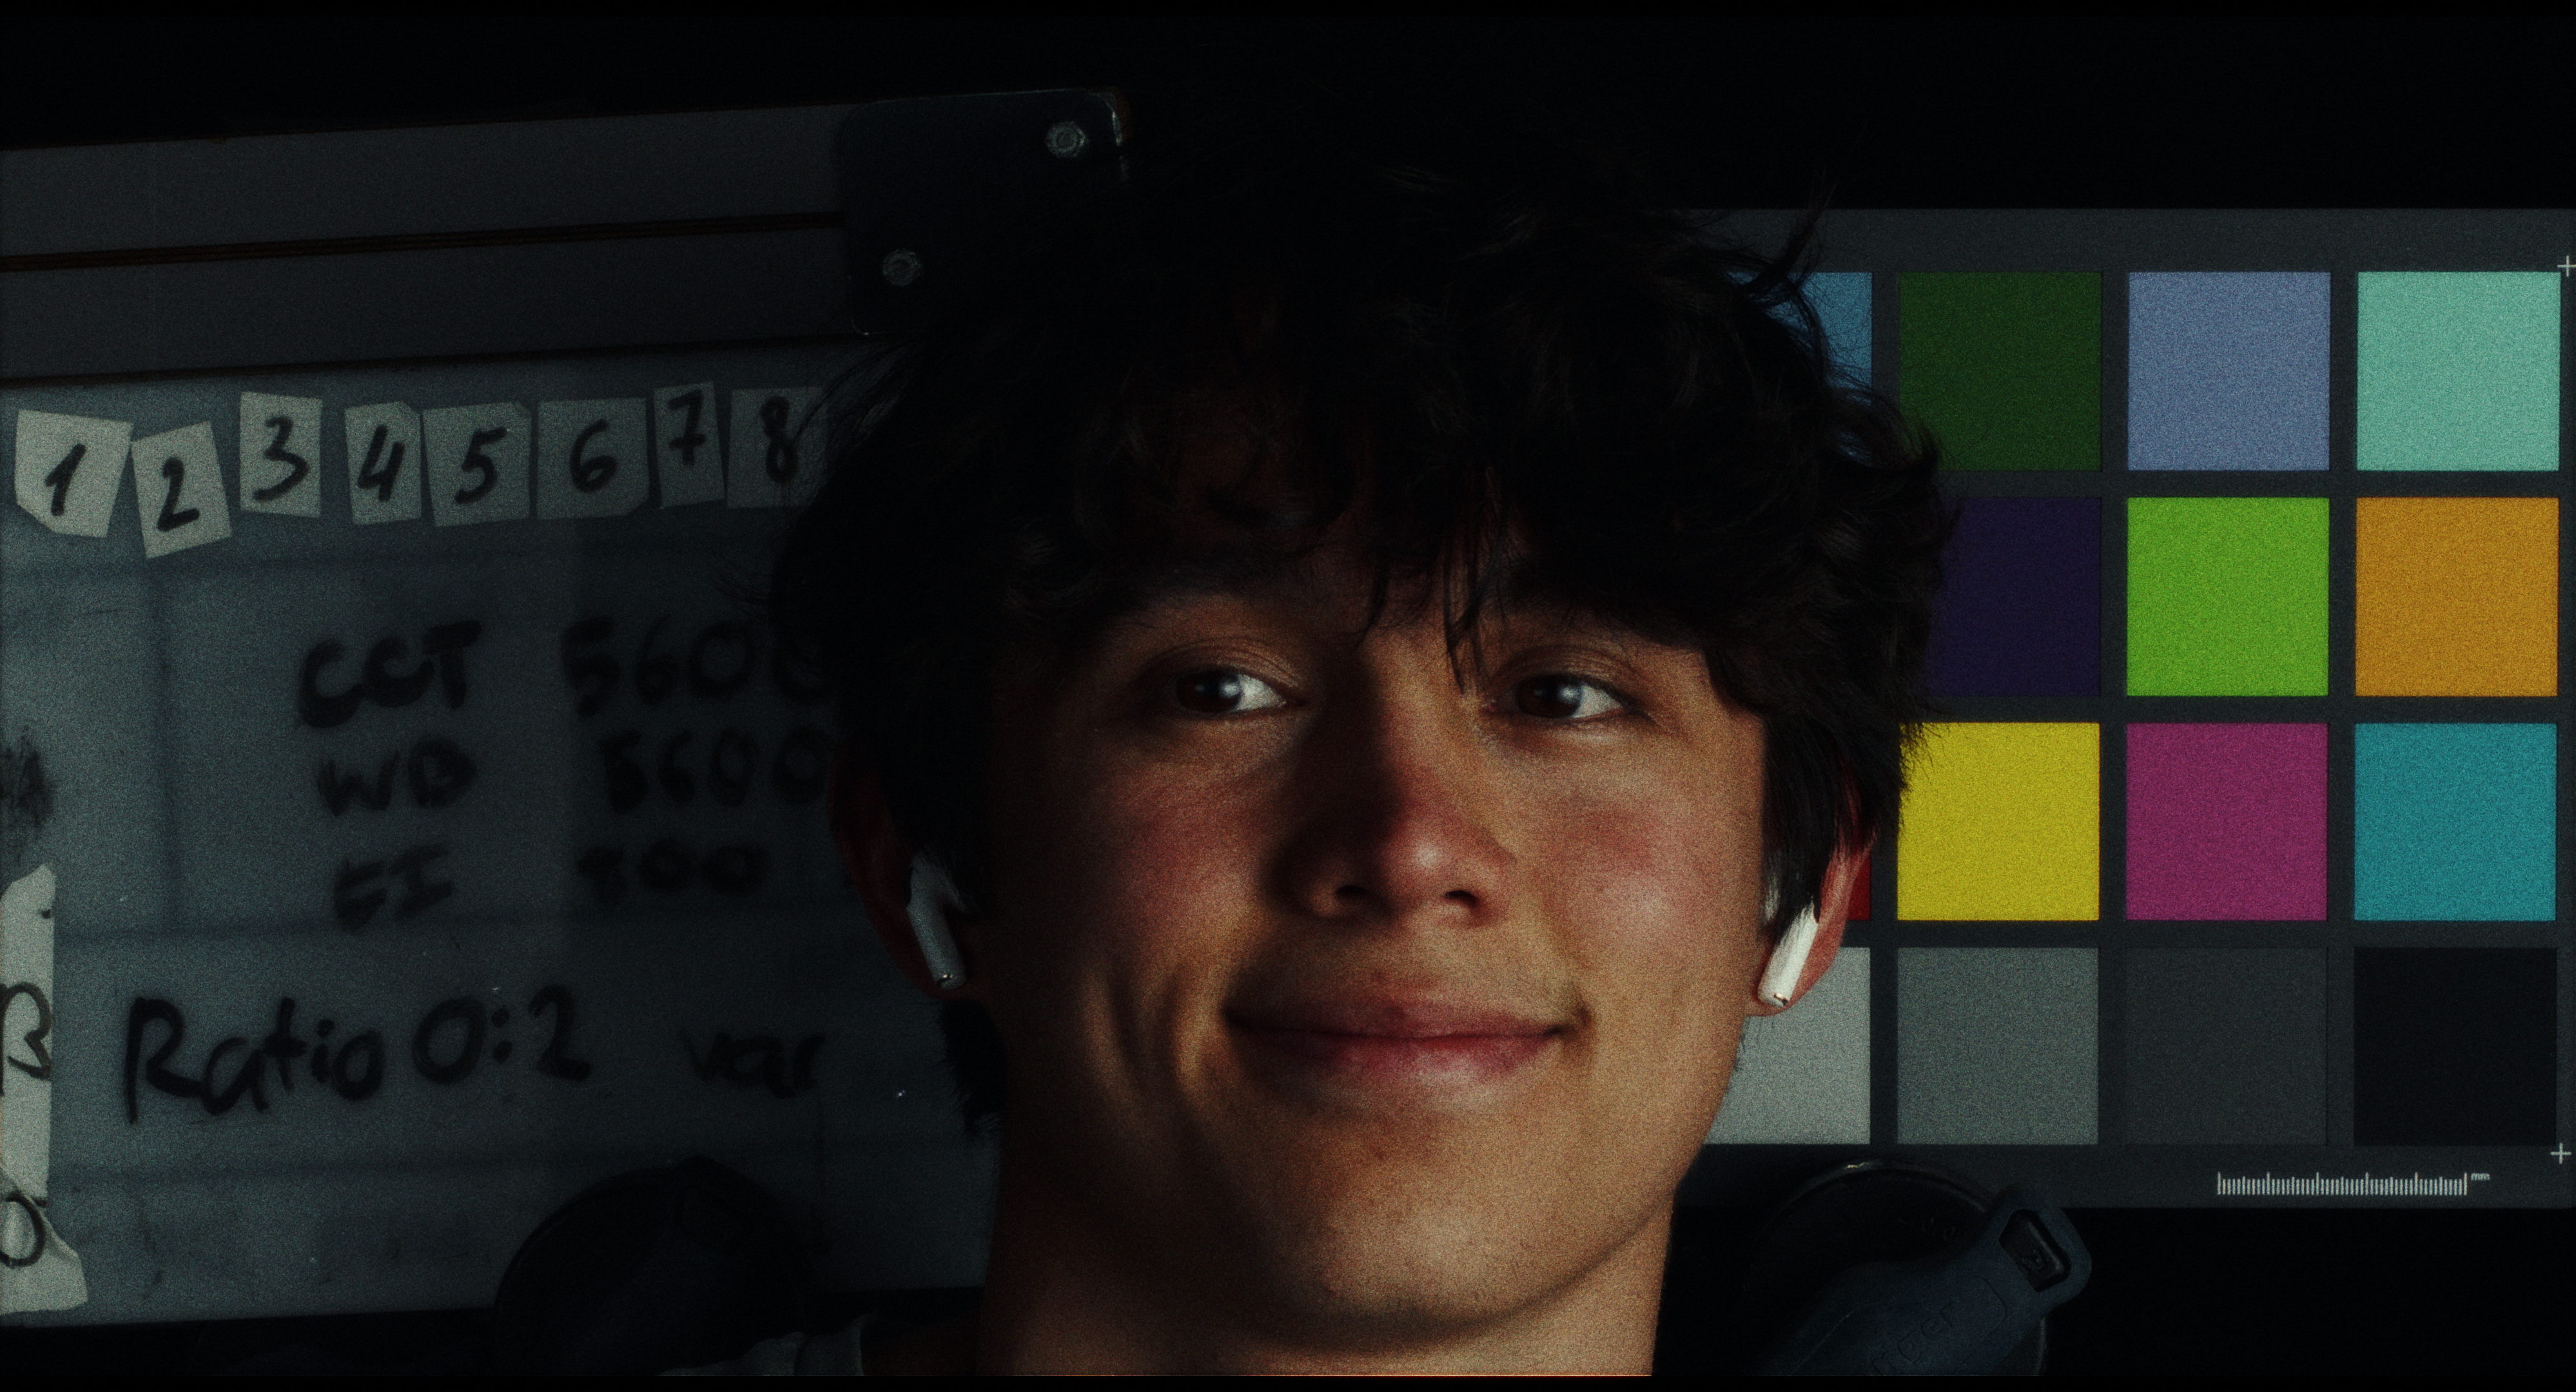
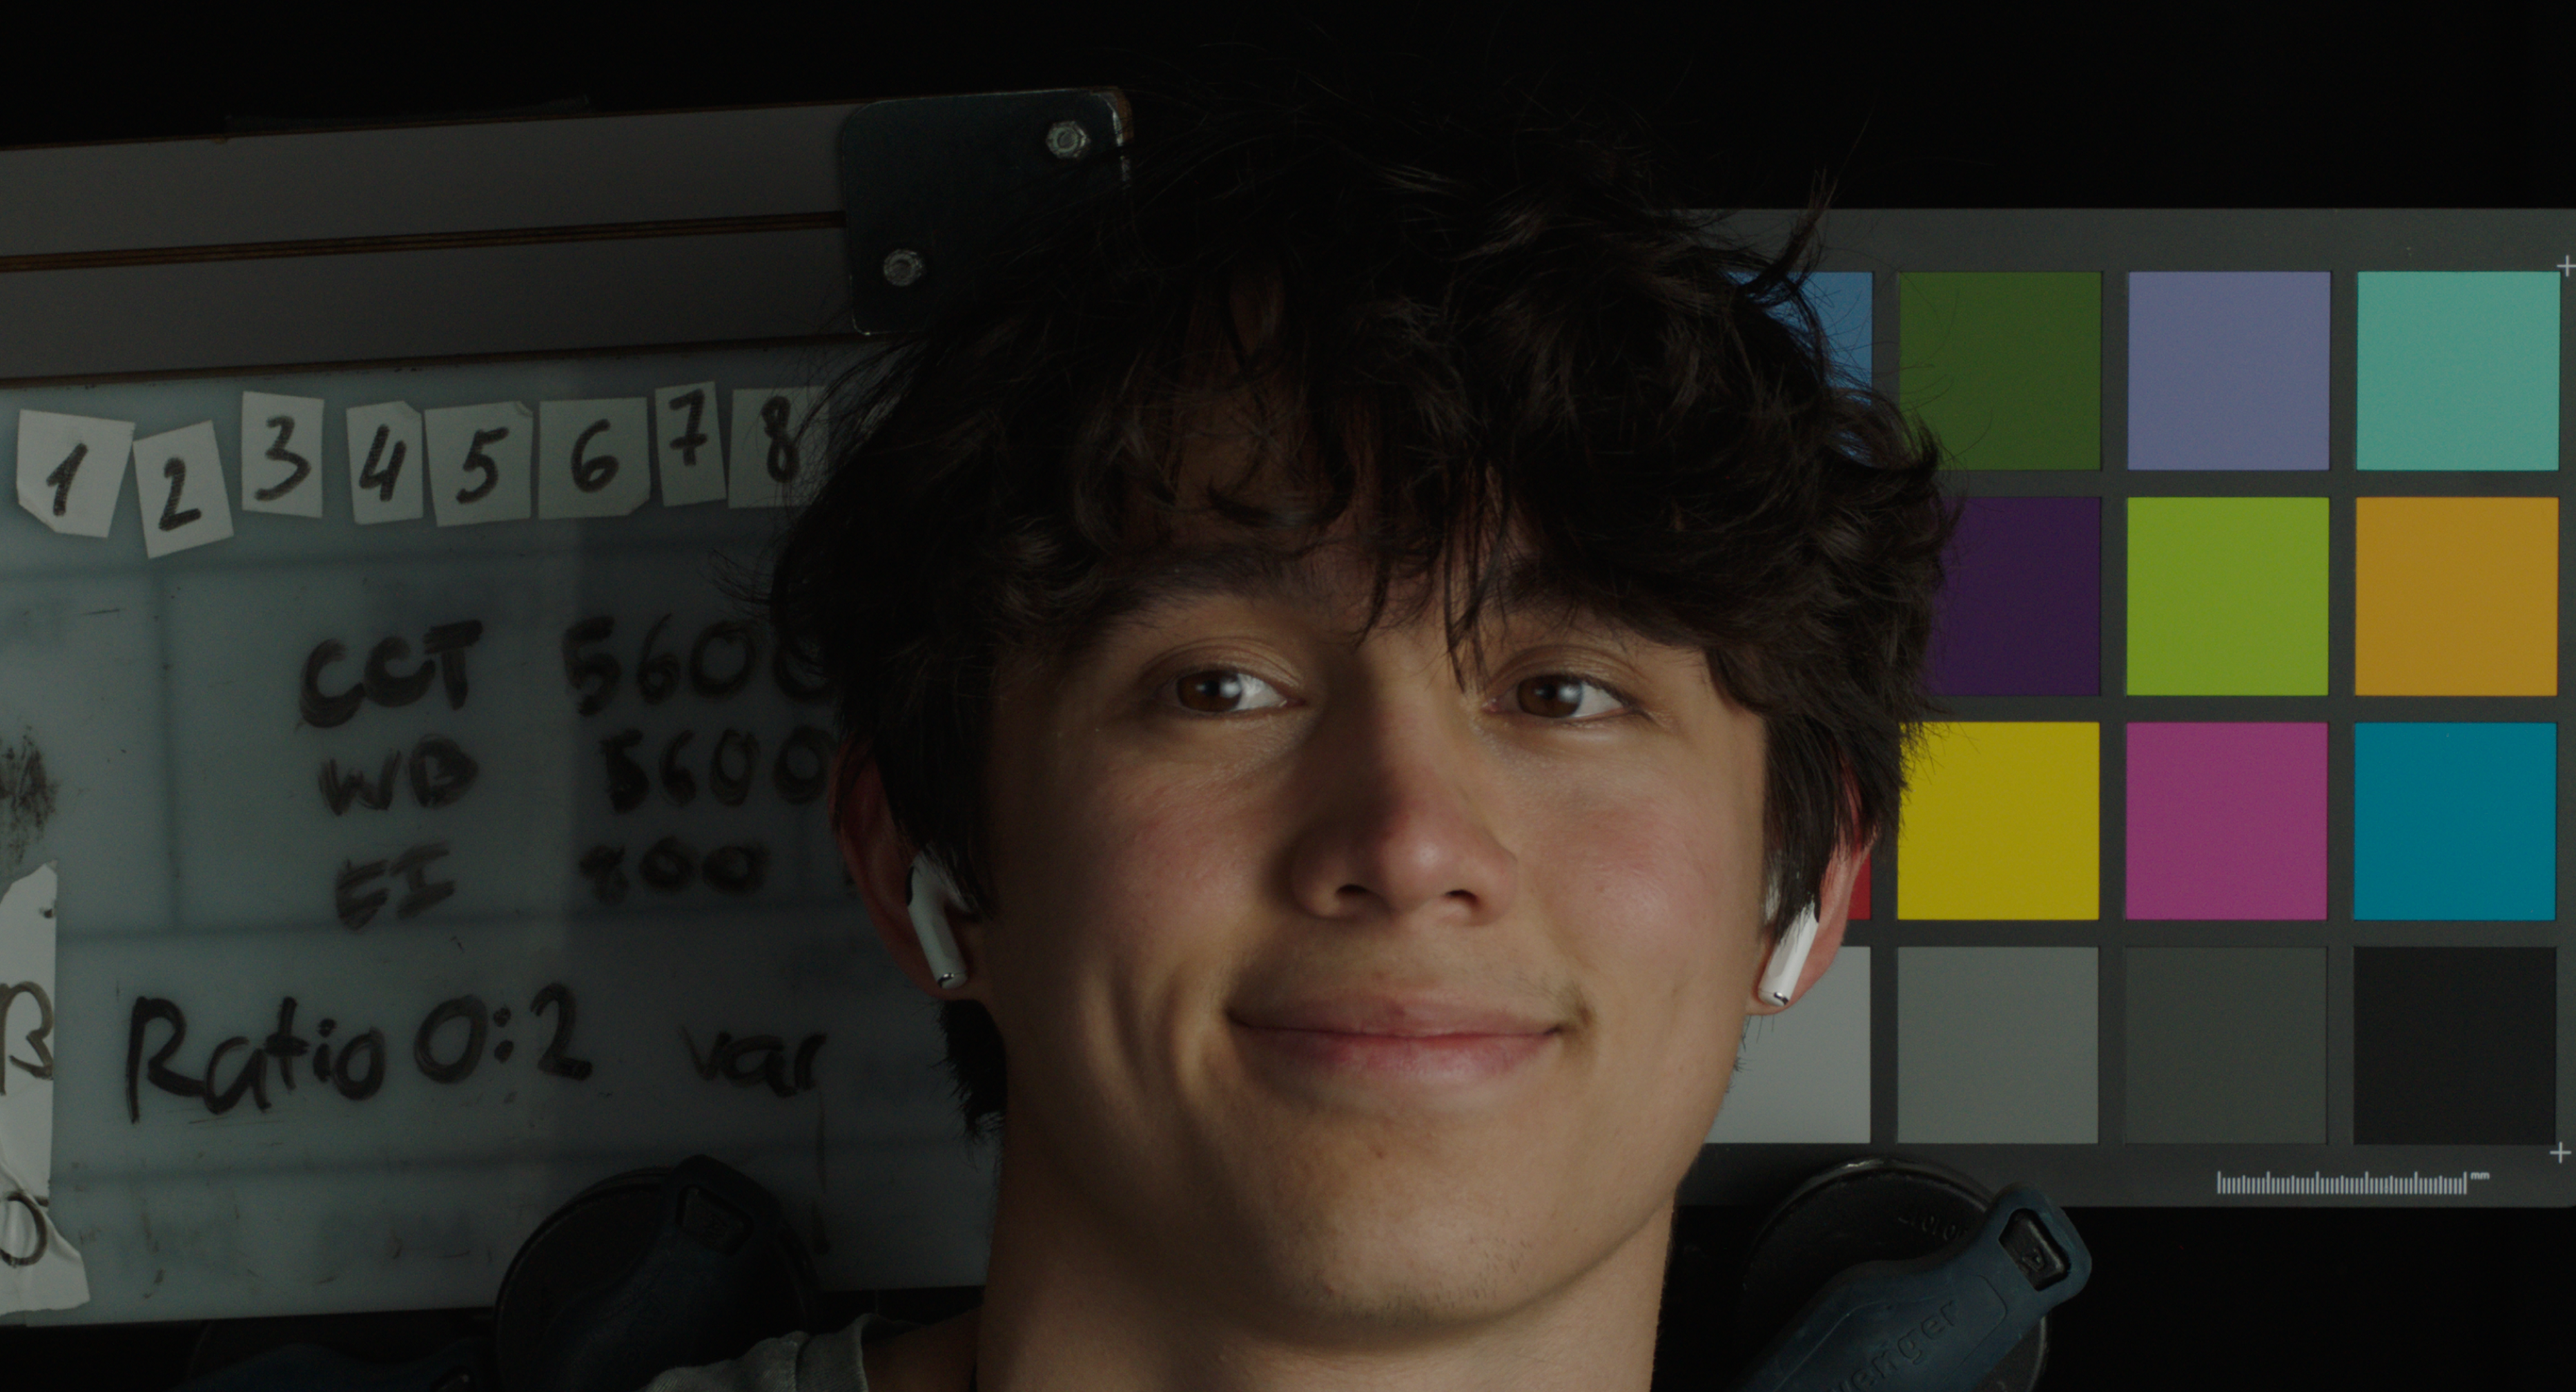
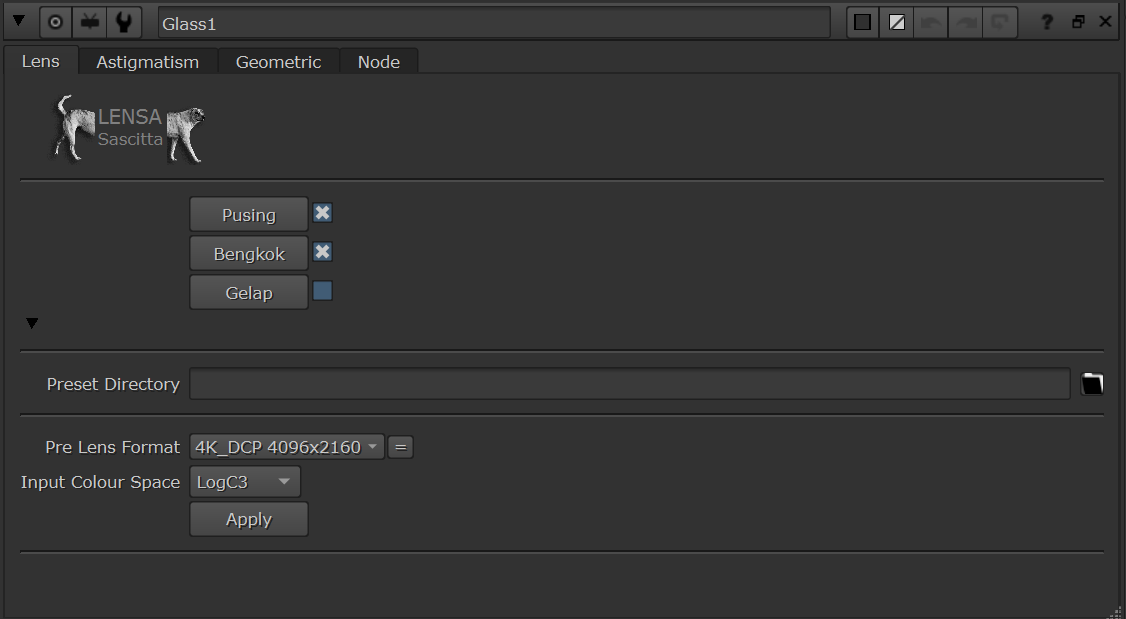
Texture Tool UI (Hub Page)
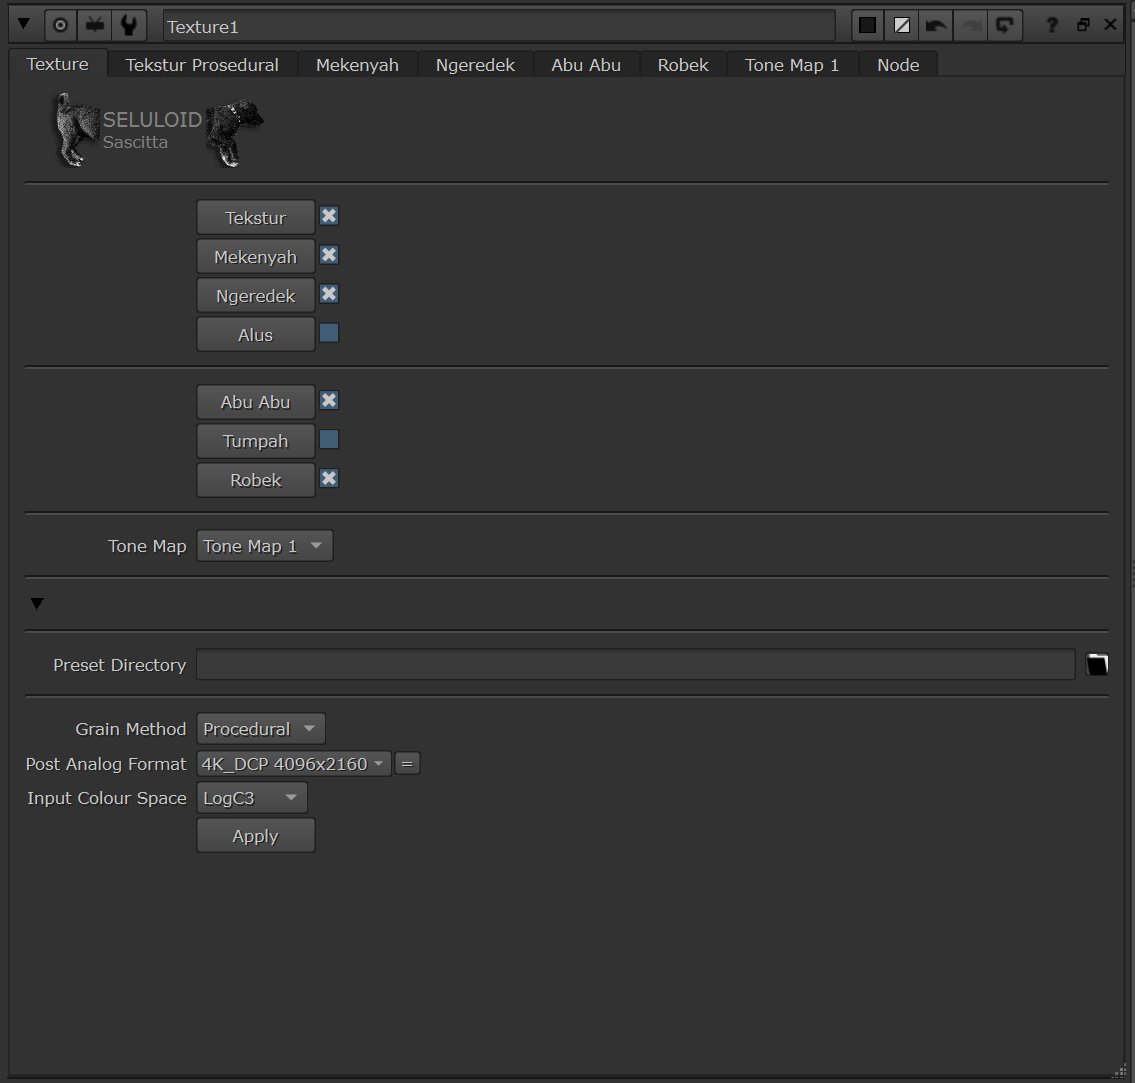
Additional Notes for the user:
- Indonesian Namings: As I wanted to add my own personality into the tools. Though feel free to change the namings, layout and whatever, to fit within your individual workflow.
- Grain Plates: To use the grain plate feature, users have to copy to Gizmo into a group and dig into the GrainPlate Node, where they will find the options to connect their Grain Plates and the corresponding reference plate (still plate of the rgain Plates average RGB value). The current set up assumes that the user poses 5 Grain plates at varying exposures, but this can easily be expanded or reduced to everyones own liking. You could even just use a single grain plate and introduce luminance variation through the provided splines. More Info -> https://www.liftgammagain.com/forum/index.php?threads/a-method-to-employ-varying-grain-plates-at-different-exposure-levels.19497/#post-185915
- Crosstalk Node: This is probably the least robust/artifact inducing node. It operates in OKLab and definitely isn't as smooth as the other tools operating in Reuleaux. It probably makes more sense to just omit this tool and use the Hue Vs Hue and Hue vs Luminance tools to achieve crosstalk. So if your image/LUT is experience any artifacts, try turning off this node.
- Removal of scanlines and LUT creation: Due to the packaging of 4 individual Gizmos and the issue of hardcoded names for cross referencing, I had to remove the tool to automatically generate a LUT and to see the Tone curve when using the Split Tone Tool.
- Tool Explanations: I explain the derivation and conception of all the tools on my Instagram (archived under my Highlights, @Vannyation) or on LiftGammaGain (Silvan Schnelli )forums, incase anyone was curious.
- Not an Expert/Scientist/Programmer/Engineer: This tool could probably mess up your images in many ways, I am no expert in colour science, I am not even a STEM Student. However, I've spent a lot of time and passion on these tools. When I was just starting to learn, it seemed like there were barely any sources available, but with time, through forums, books, youtube, websites and most importantly talking to people, I've gathered and accumulated some knowledge and ideas of my own. So I wanted to also do my part in giving back to the community that over these past 2/3 years in Look Dev, has given to me.
Tool Backstory:
I have spent the better part of my Film BA working on this tool. Despite a little late to the party, like many, I was initially inspired by Steve Yedlin's "Display Prep Demo" and further exhilirated by all the people from the look dev community. This tool was created through my own ideas and ideas I adopted from other creators but tweaked in my own style. In the tool I also included Gizmos and tools from other creators, like employing the Reuleaux Colour Space by HotGlueBanjo and CalvinSilly, Procedural Scratch generation from Taukeke and my own adaptation of CalvinSilly's Film Gate Leak. The tool contains a lot of blinkscript kernels and isn't the most efficient, but when it comes to its flexibility for look development, I believe its not miles away from the more professional tools out there.
The coding was done in combination with the assistance of OpenAI tools. OpenAI was especially helpful in putting these mathematical/image engineering concepts I had into logical code structures to bring the tools running. Though I always preferred to write as much of it myself, even when it sometimes became a scenario of learning the concepts, copying them and then forgetting them once it was time to put another idea into motion. OpenAI was especially helpful when building the UI tools, like preset buttons and packaging the GIZMO. The gizmo creation was a pain due to the numerous expressions that were hardcoded to specific node names.
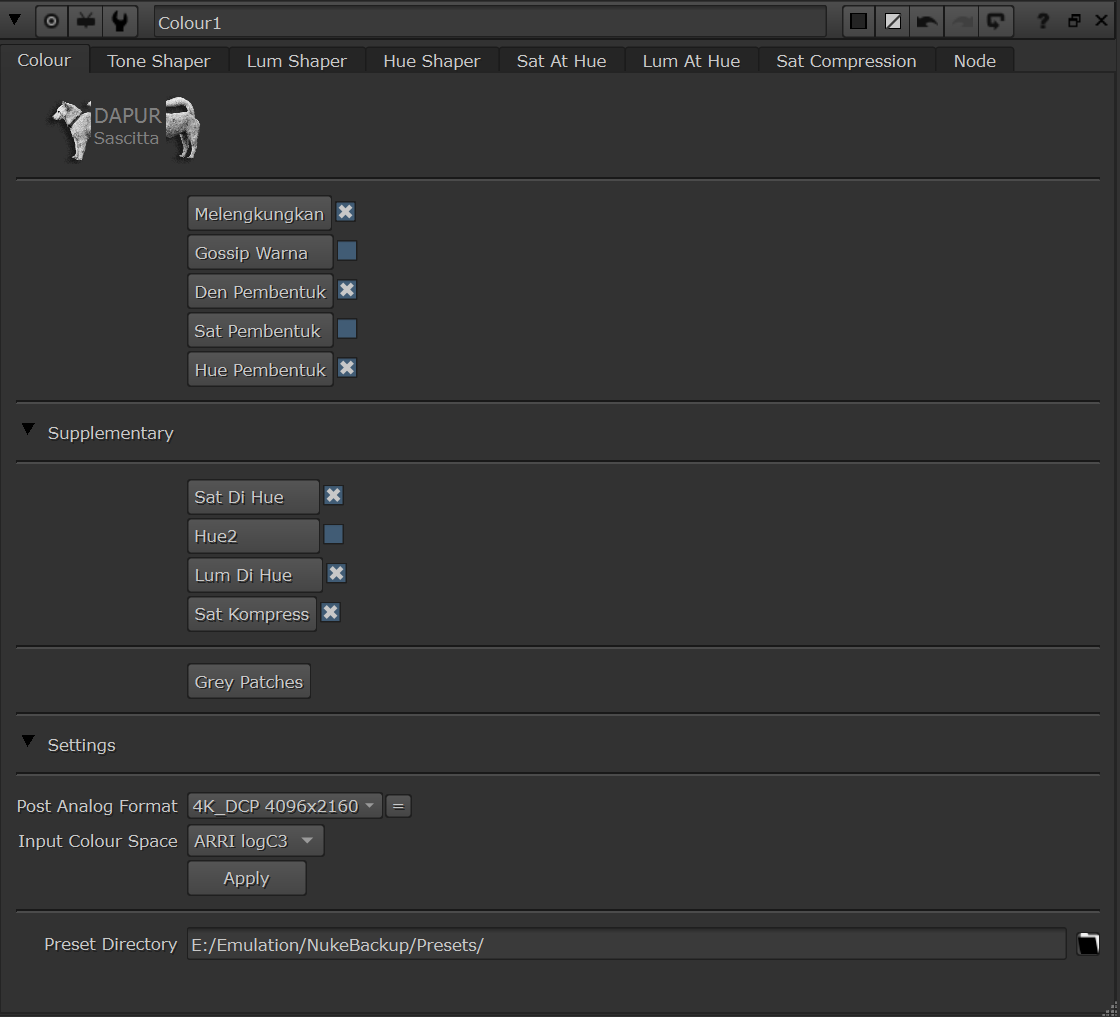
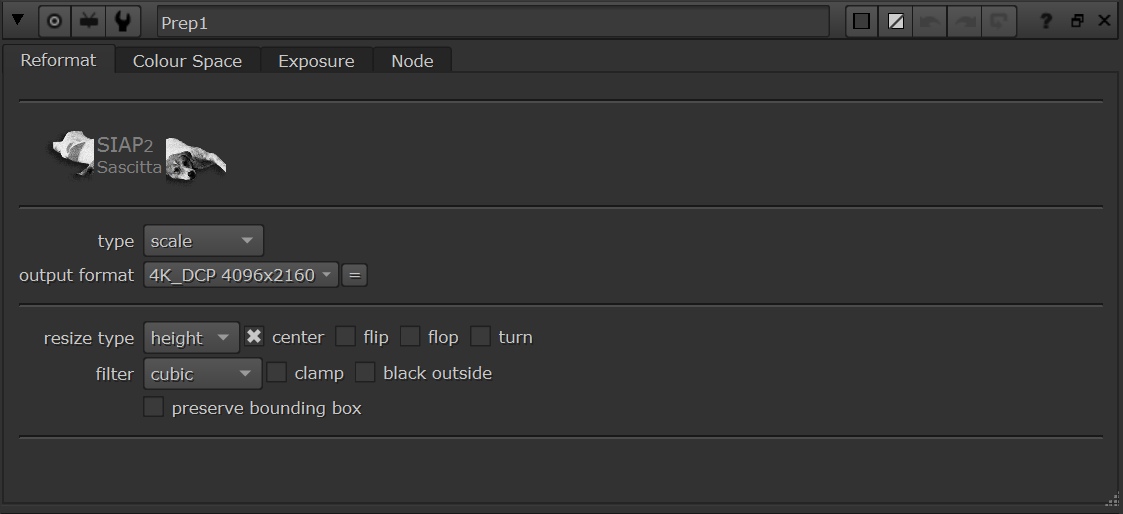
Other Tools UI (Hub Page)
Comments